
Clear Tape
Collage
Medium
1 ATC Blank Frame
A clear plastic sheet with two clear tape sections taped to it
A selection of small items to place inside
May need scissors and other small items you have laying around
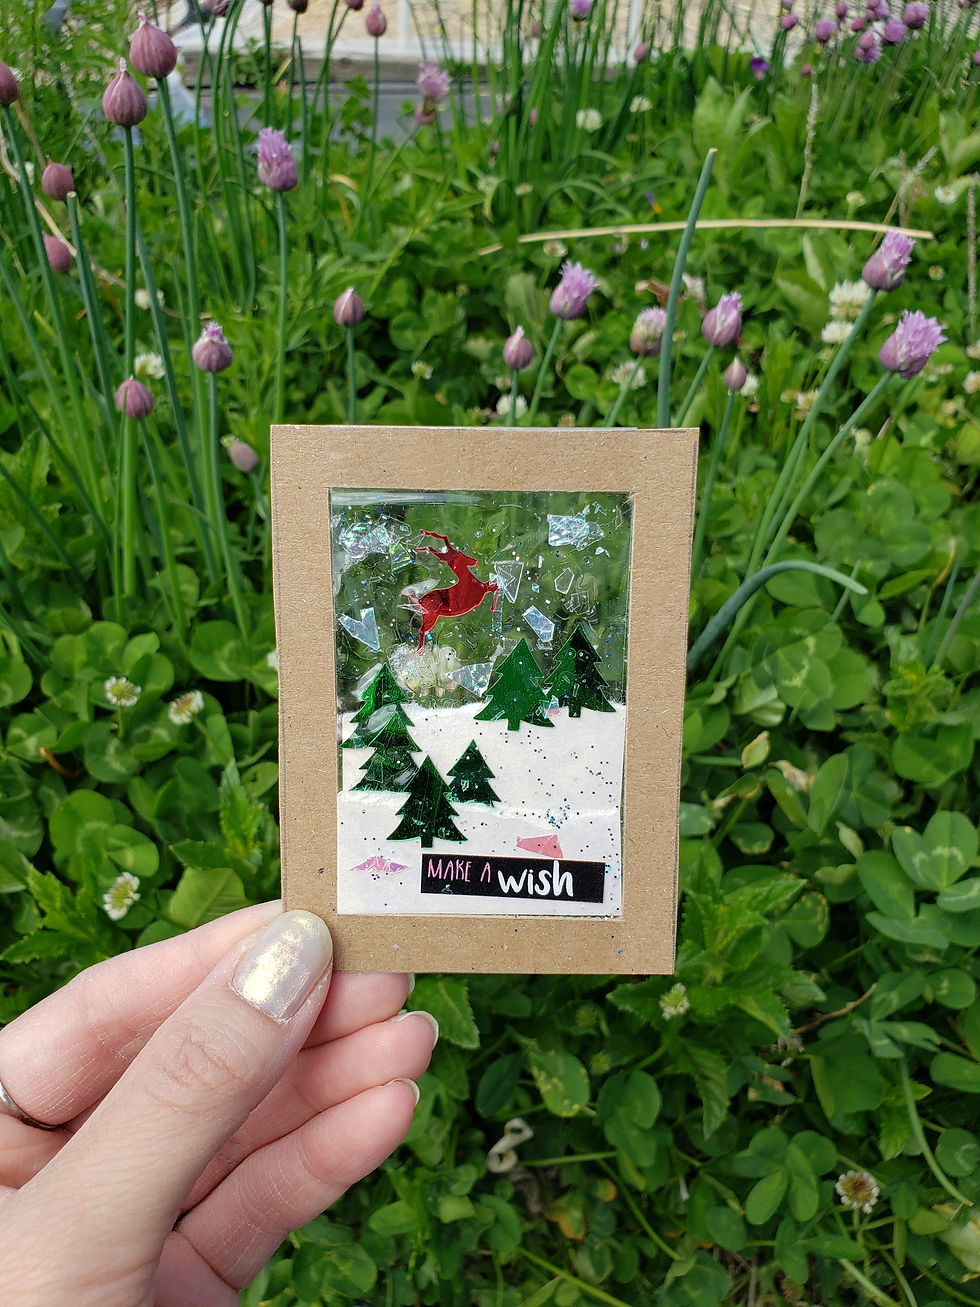
This project creates a transparent ATC that can be viewed from both sides! Carefully remove the taped frame and place it sticky-side up. Begin building your design by placing background pieces first, then layering items that should appear closer to the viewer. Remember that some materials, like words or stickers, only show correctly from one side, while others can be enjoyed from both. Once you're happy with your arrangement, carefully seal the design with the second piece of clear tape and sign your name along the edge to complete your unique see-through ATC.
Instructions
Look at Your Materials
Your kit contains one clear tape ATC base, shaped papers, words, decorative pieces, and an ATC frame.
Prepare Your Workspace
You'll need scissors and may want a glue stick. Work carefully to avoid dust, hair, or debris sticking to the exposed adhesive.
Create
Peel the ATC frame from the backing and place it sticky-side up. Arrange your design from background to foreground, remembering that both sides of the finished card may be visible.
Experiment
Try making one image that looks good from both sides, or create two completely different designs depending on which side is viewed.
Finish Your Card
Seal the design with the remaining clear tape, trim if necessary, and sign the edge of your finished card.
Reflection Questions
What part of your finished card feels most like "you"?
How did using recycled materials influence your design?
All ATC Video Instructions: https://www.onourtrail.com/ATCVideoInstructions


Kit Curation Story
Came up with the idea based on ideas on pinterest incorporating dried flowers into art journals or pages. I thought why not make it an ATC size? Since I was already designing the shaker card and had some of these frames cut out, I pulled something together to create this see-through framed ATC.